What is Rube Goldberg? |
It's not so much what, but who? Rube Goldberg was an American cartoonist from our very own San Francisco. Born in July of 1883 and died in December 1970, Goldberg lived a long life. He was a founding member of the National Cartoonists Society and lives on in his well-known comics of complicated machines that accomplish the simplest tasks, a few examples being: "An Automatic Back Scratcher," "Self-Operating Napkin," and "Simple Alarm Clock."
|
Now that brings us to Mission: Kool-Aid
If you missed presentation night, check out the above video of our machine. For this project, I worked with Pokie, Nick, and Ely to accomplish a goal of pouring kool-aid powder into a cup of water. The steps are shown in slow-motion in the Youtube video shown. If you want to, check out the Prezi I made to aid our presentation. The Prezi says all the steps that are part of our machine along with some calculations for each step. If you want to learn more, feel free to contact me!
Difficulty:
Difficulty - noun - the state or condition of being difficult
We had a lot of this. Especially while building. My group has problems with time management and multitasking. We would often get preoccupied as a whole group trying to complete one task that was especially difficult and spending a few days working on that one thing, whereas things that we should have done as a group we did not.
Troubles We Ran Into
|
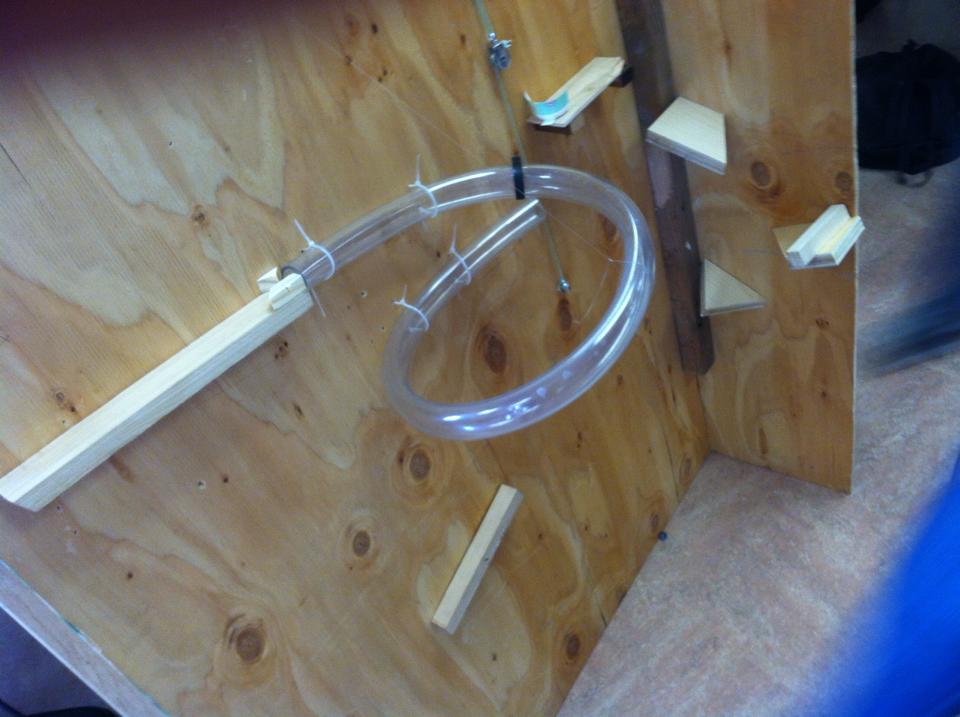
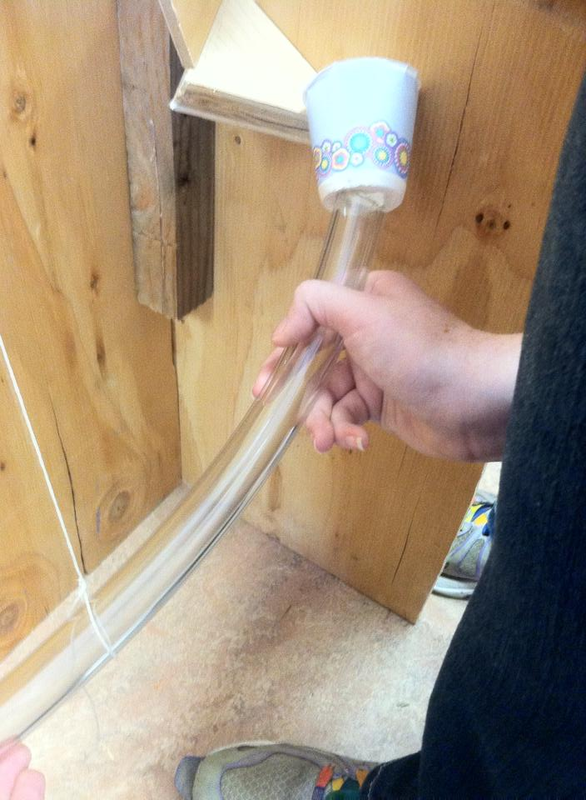
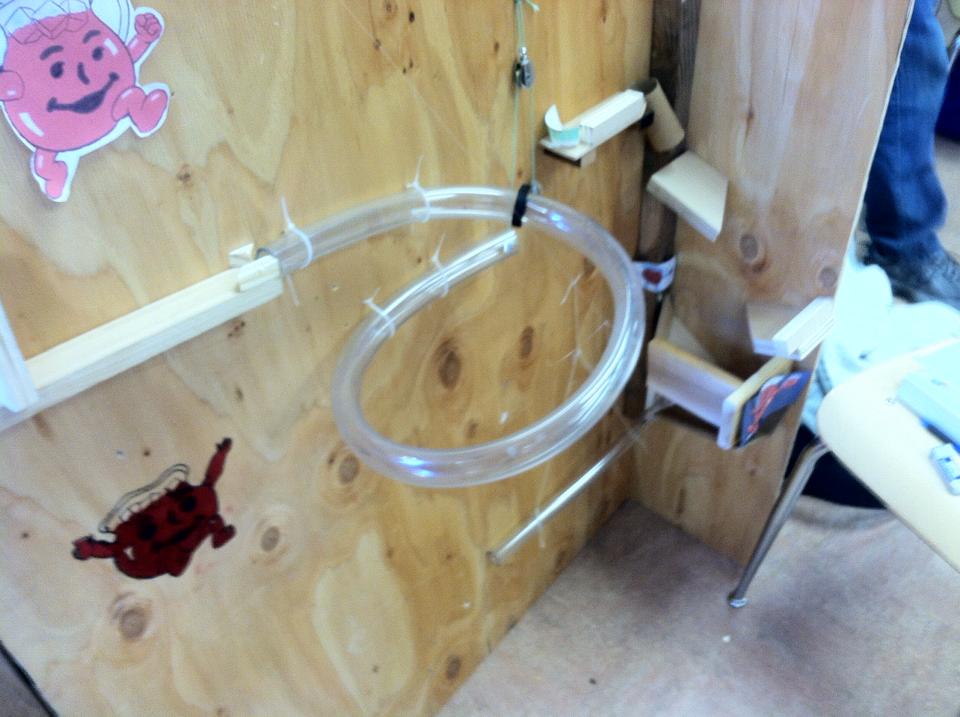
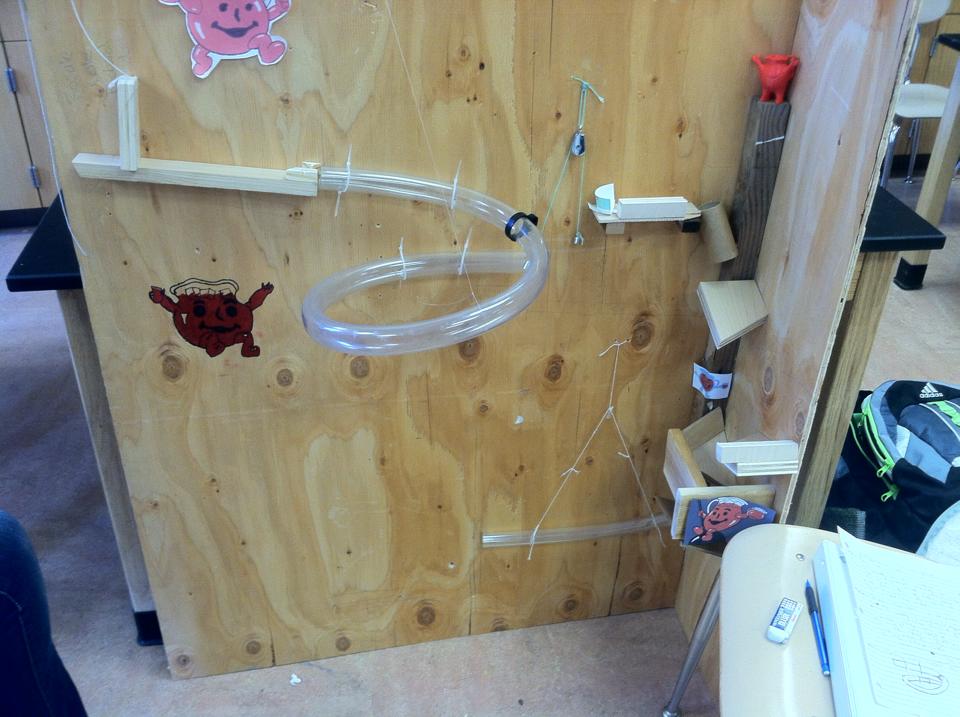
Our screw (plastic tube) had a little dent in it when we brought it in to build our machine. That little kink in the tube stopped the marble from rolling down and through the tube. The marble would only go in about half the time. Pokie knew exactly how to fix it. They brought in a clamp to press on the kink to open it up, and, as you can see, we used it until presentation time.
|
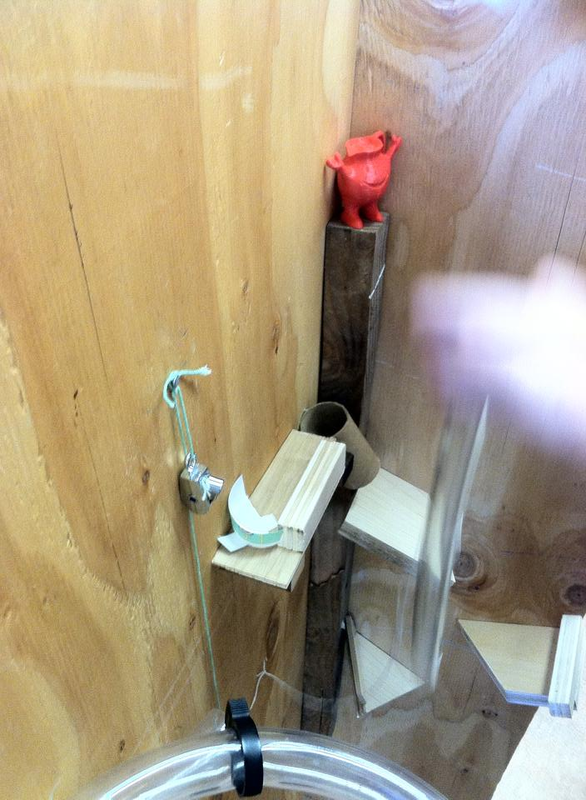
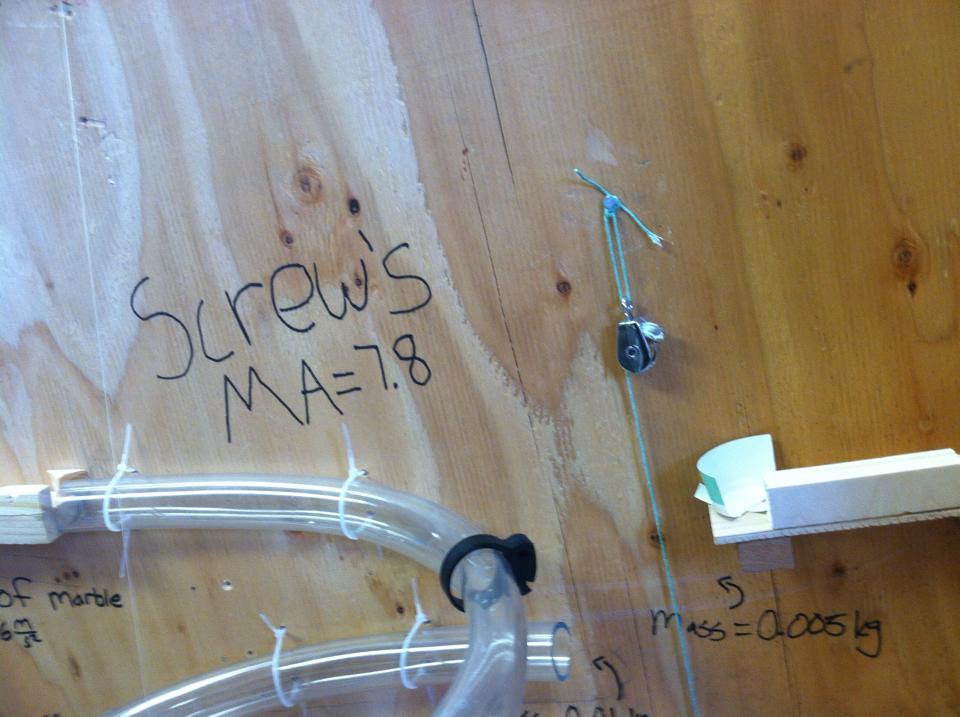
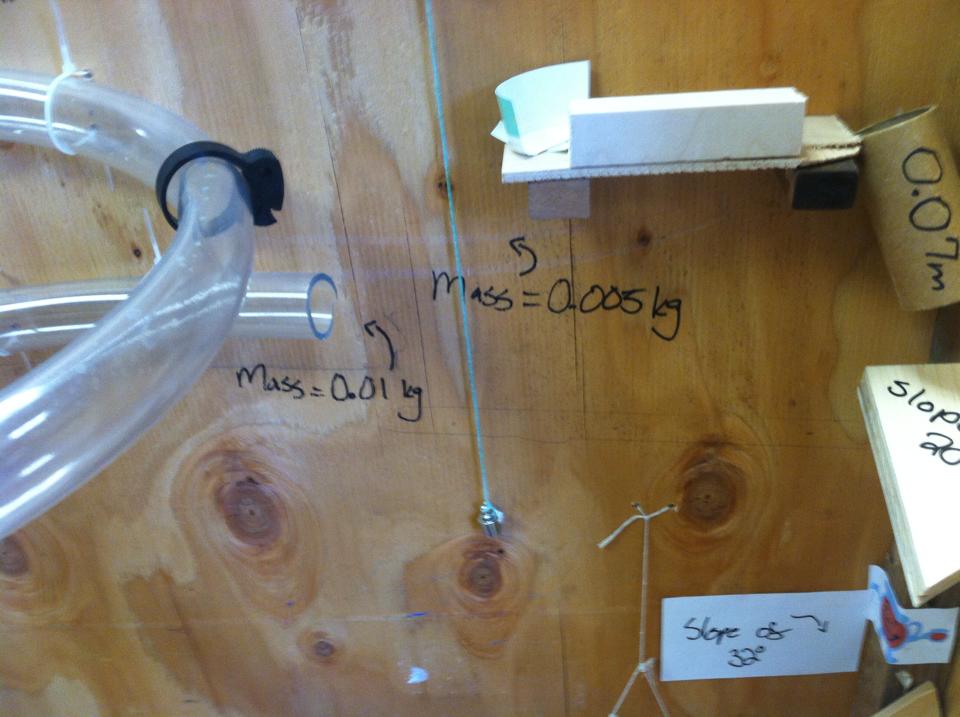
The paper cup holding the second marble was originally just hanging out on the edge of the inclined plane it's on. The small mass on the end of the pulley was supposed to hit it and knock it over, sending the marble out, but it rarely did as needed. We fixed this by attaching a piece of paper to the bottom of the cup for the small mass to hit on its way up and knock over the cup.
|
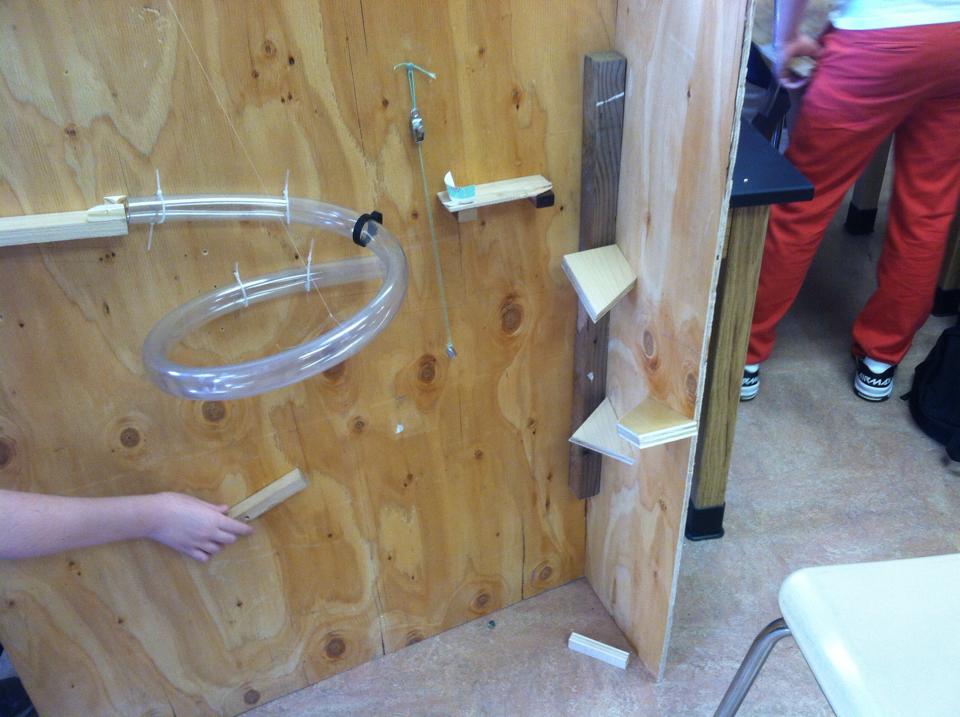
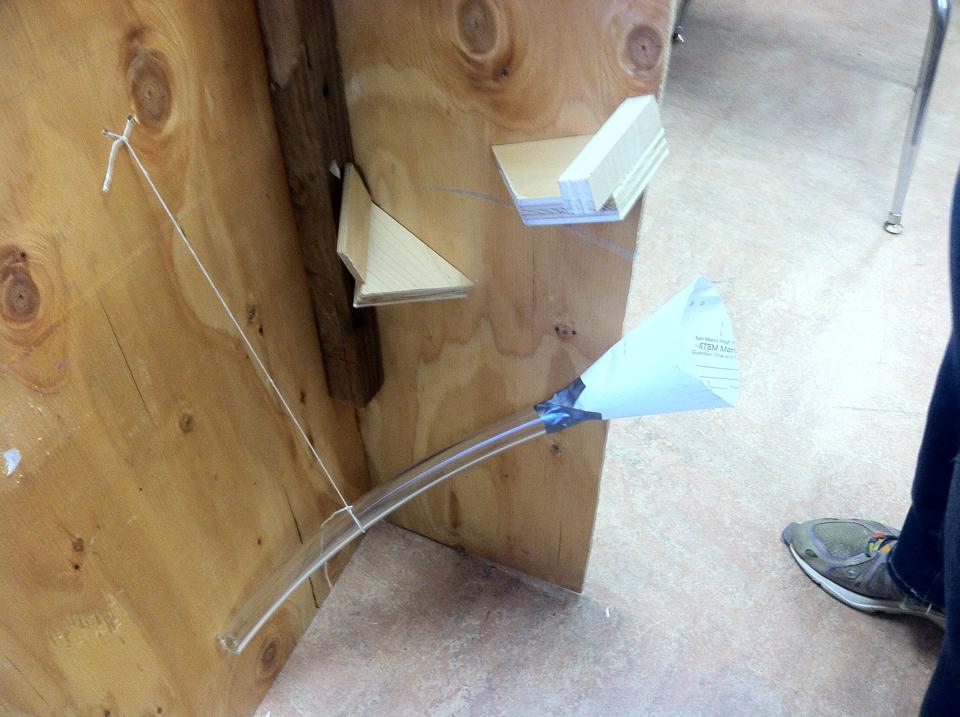
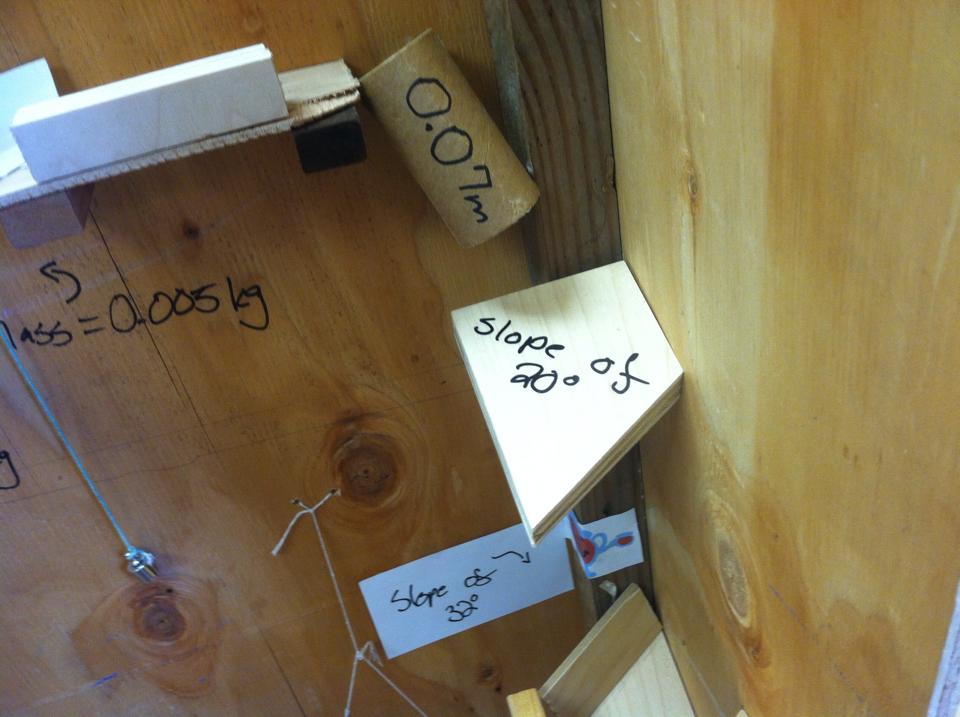
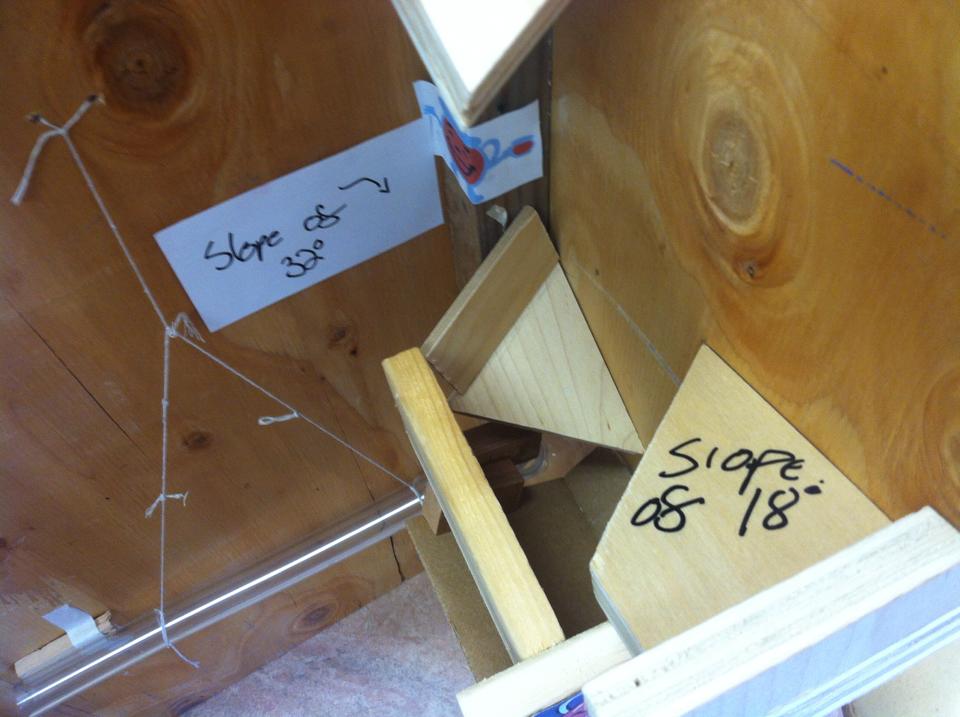
The inclined plane system right after the paper tube was quite faulty when we implemented it. The marble kept bouncing out and off the inclined planes so to stop this, we attached barriers and adjusted the slopes of the inclined planes so the marble would no longer jump every which ways. We also added a cardboard landing pad, as I call it, to guide the marble into the funnel (which also took quite a bit of tweaking) and to the next steps.
|
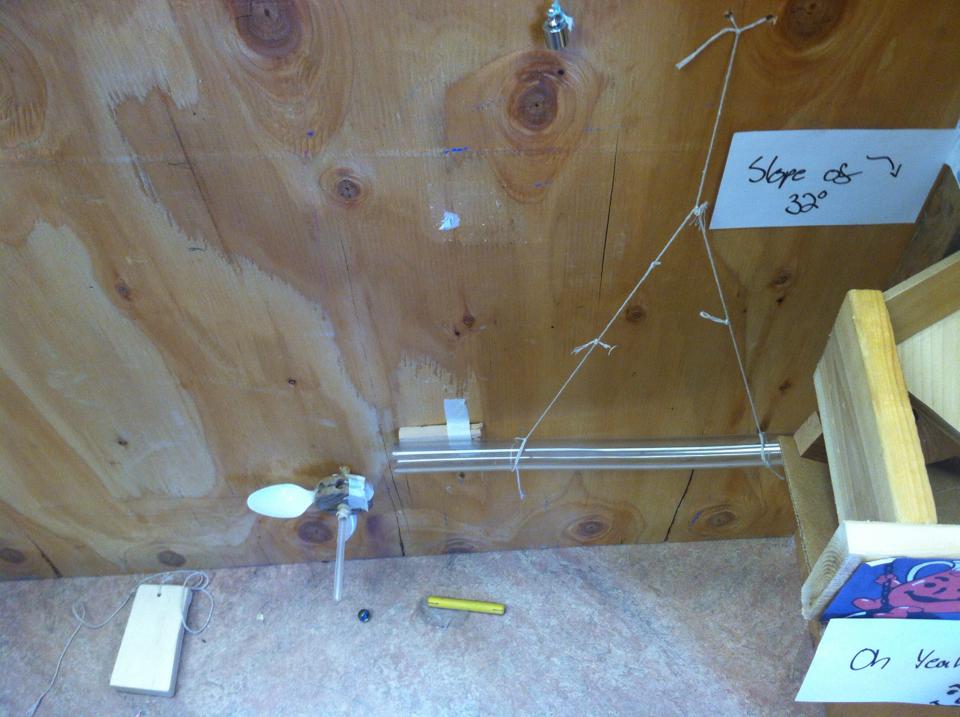
We had a lot of trouble with our final step. Our first idea was to have the marble knock over a lever with a wedge (a blade in this case) and have the wedge cut a thin piece of string, dropping the kool-aid powder packet into the glass of water. After experimenting, we ditched the idea after figuring out that it would take a lot of effort. We tried to switch it out with the marble hitting a golf ball, knocking over the kool-aid powder and ditched that idea also. Finally, we were out of ideas and struggling with the deadline when Ely saw another group using a wheel and axle with spoons attached and we all agreed that it'd be the best and most practical idea to accomplish the task of making kool-aid so we asked to borrow their idea and they gave the okay for us to "steal" their idea and that's what became our final step.
|
Things to Know
While building our machines, every student learned many different concepts about physics along the way. Here are some terms that we know that I think you should know too:
Force: a push or a pull. Force is measure in Newtons and calculated by multiplying force and acceleration
Work: The product of a force on an object and the distance said force moves the object. Work and energy are both measure in Joules and calculated by multiplying force and distance
Potential Energy: Energy of position, especially in relativity to the position of two things. Potential energy is at its peak when an object just starts to accelerate and decreases as it reaches its stopping point (usually the ground). The change in potential energy and the change in kinetic energy are both equal to work and can be calculated as such. Energy is measure in Joules.
Kinetic Energy: Energy of motion. Kinetic energy is at its peak when an accelerating object is right about to hit its stopping point (usually a falling object hitting the ground). The change in kinetic energy is equal to the change in potential energy which is equal to work, therefore kinetic energy is equal to work. Energy is measured in Joules.
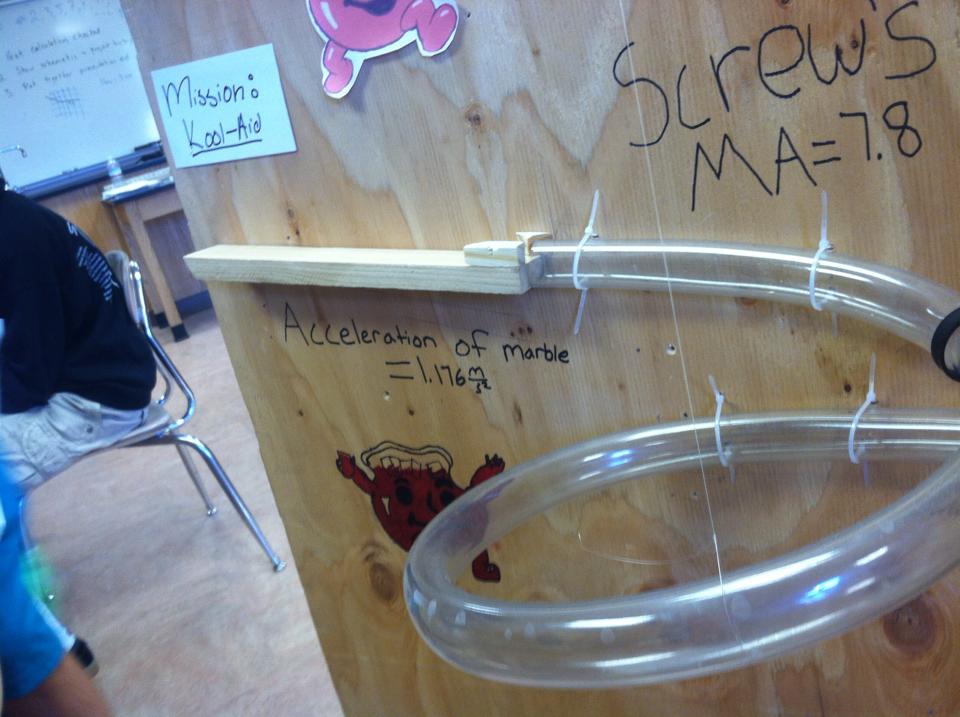
Mechanical Advantage: How much easier a machine makes work. There is no unit for mechanical advantage to share with you.
Speed: How much distance an object covers in a certain amount of time. Speed and velocity are measured in meters per second (m/s)
Velocity: Speed with a direction. Velocity and speed are measured in meters per second (m/s)
Force: a push or a pull. Force is measure in Newtons and calculated by multiplying force and acceleration
Work: The product of a force on an object and the distance said force moves the object. Work and energy are both measure in Joules and calculated by multiplying force and distance
Potential Energy: Energy of position, especially in relativity to the position of two things. Potential energy is at its peak when an object just starts to accelerate and decreases as it reaches its stopping point (usually the ground). The change in potential energy and the change in kinetic energy are both equal to work and can be calculated as such. Energy is measure in Joules.
Kinetic Energy: Energy of motion. Kinetic energy is at its peak when an accelerating object is right about to hit its stopping point (usually a falling object hitting the ground). The change in kinetic energy is equal to the change in potential energy which is equal to work, therefore kinetic energy is equal to work. Energy is measured in Joules.
Mechanical Advantage: How much easier a machine makes work. There is no unit for mechanical advantage to share with you.
Speed: How much distance an object covers in a certain amount of time. Speed and velocity are measured in meters per second (m/s)
Velocity: Speed with a direction. Velocity and speed are measured in meters per second (m/s)
What Happened While Building?
Well first my group started off by designing and discussing our plans for the machine. Unfortunately, I was absent on the day when the design of the machine was being assembled so I know little about the decisions made, only the final product and drawing. Ely came up with the idea of kool-aid being made as the final product of our machine.
Our first step in building was to cut our board into two pieces. There was much discussion (mayhaps described as arguing by other people) about how and whether or not we should cut the board. Eventually there was a majority rule to cut it the way that we did. Next we attached that darker piece of wood so we could put together the two boards. After that we attached a backing to the top left of the board and stuck a nail in it to implement the first pulley for the first step. After that we put in the first inclined plane. The small pieces of wood on the inclined plane, designed to guide the ball into the screw, were not put on until late. I can't recall exactly when, but I believe it was right as we started building the inclined plane system around step 7.
Putting the plastic screw into the board took longer than I would've hoped. We spent a lot of time trying to figure out how to actually fix it onto the board. We agreed upon zipties and went to work with it. We originally only had two zipties holding the screw up but after seeing how much it was drooping, we affixed two more. We also wrapped fishing line around the tube and tied it to the top of the board to help with the drooping tube even more. The screw caused a lot trouble for us, as I mentioned prior in my "Troubles We Ran Into Section." We did end up attaching the clamp to the screw, much later than it was first needed, but we got it on nonetheless.
Next we put on the second pulley. We attached a wood back for the second pulley to be implemented, rather sloppily I would say, but it works. We played around a lot with the masses attached, starting out with a 50 gram mass and a 25 gram mass, then gradually shrinking them until we got perfect sizes. After that we put on the thin plank below and came up with the paper cup idea. There was much change involving that, as you can read in the "Troubles We Ran Into Section."
After that we put in the inclined plane system. We started that by having Ely and Nick cut a single piece of wood into three pieces (two pentagonal pieces and one triangular piece). We drilled two pilot holes into each piece and nailed them to the board through the pilot holes. We played around with the slopes of the boards and put up many guard rails for the inclined planes to keep the marble from bouncing out.
After the inclined planes comes the funnel and second tube. The funnel took some work. Before we even tried making a funnel, we tried just attaching the tube to the end of the cardboard platform at the end of the inclined planes system. The first funnel we tried was a paper cup, like the one holding the second marble, except whole. That didn't work out too well. It was hard to direct the marble into the paper cup. The diameter of the cup was wide, but the surrounding of the opening had a thick lining that just took too much time and too many incorrectly cut cups to really keep the idea so we scrapped it. Next we tried making a paper funnel which was just a rolled up piece of paper. It involved a lot of duct tape to keep it in place, but it bent and crumpled even with all the non aesthetically pleasing duct tape and scotch tape to keep it in place and stiff enough to hold shape. We decided to get rid of it due to its impracticality and just plain ugliness. Finally we reached the best and final decision of having the top of a plastic water bottle for the funnel.
Attaching the second tube was easy, from our last experience with the first tube so there's not much to say about that. The last two steps my group somewhat rushed to put together since we got pressed for time and were out of ideas. You can read more about that in "Troubles We Ran Into."
My Thoughts?
I had an incredible amount of fun doing this project. My group members, Nick, Ely, and Pokie, were such great teammates and I feel that all the work we produced was evenly distributed and suited to the strengths of each member (for example I created the presentation and wrote out many of the details since I am proficient in writing and did some of the calculations because I love math). Working with my team helped me realize that there's always room to improve and time management is essential to any project. As we learned from experience, trying to fix something by doing it the same way is not a good way to fix it. Instead, brainstorming and finding new methods to get the desired solutions is a much better way to solve any problems. Some great things that my group did, in my opinion, would be our several presentations during presentation night, October 1. We tried our best to speak clearly and display what each step accomplished and the physics behind each step. I feel as though we succeeded in those areas of our presentations, even our machine didn't work perfectly every time. That brings me back to somethings we didn't do so well. Our machine was not very reliable. It had about three perfect runs through the entire night. We could have dedicated more time to making our machine work better and sturdier while in the build and experiment phase. We spent lots of time with each step individually instead of thinking of the project as a whole. Perhaps if we had run it more before October 1 then we could have isolated each problem and designed a solution to said problems. Unfortunately, it didn't happen that way. I am proud of my project nonetheless though and had a fantastic time building, presenting, and drinking kool-aid.